Installation
Solar Rooftop Installation Process: A Step-by-Step Guide for Indian Homeowners
By Rohan Sharma (Senior Solar Engineer)
August 1, 2026
5 min read
Converting your household rooftop into a clean energy power plant is an exciting transition. While the actual physical installation of solar panels takes only 1 to 2 days, the end-to-end engineering, approvals, and commissioning involve a structured process. Understanding this process beforehand ensures a smooth installation and prevents project delays.
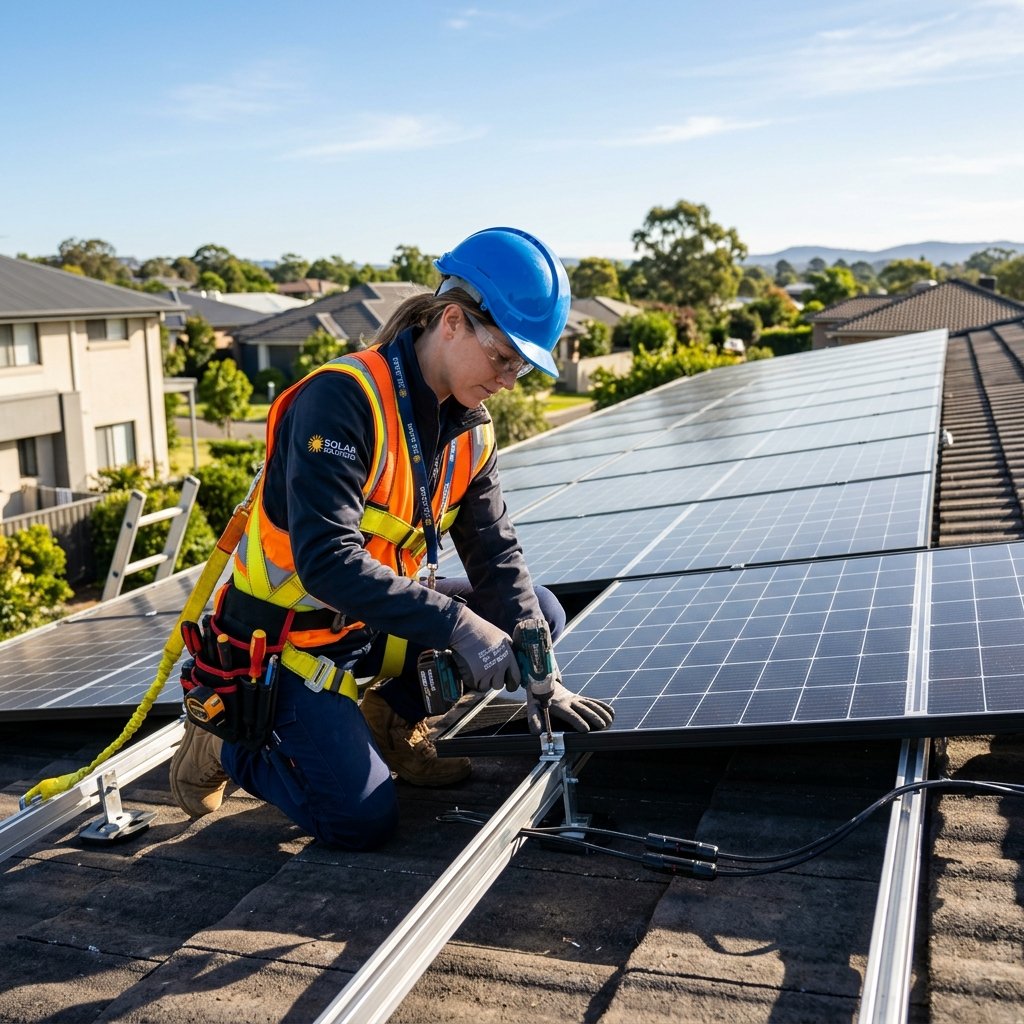
Professional solar engineer securing solar panels on residential concrete rooftop
Phase 1: Site Survey & Structural Engineering Before a single bracket is bolted down, a solar technician must conduct a detailed physical inspection. The surveyor checks three critical variables: 1. **Roof Structural Strength:** Solar modules and mounting structures weigh roughly 15 to 20 kg per square meter. The roof must be concrete or structurally sound metal to support this load under high wind speeds. 2. **Solar Radiation & Shade Analysis:** Technicians use specialized meters to measure peak sun hours and map shading patterns caused by nearby water tanks, tall trees, or adjacent buildings. Panels are oriented south (at a tilt angle of 10 to 15 degrees in India) to maximize sun exposure. 3. **Electrical Infrastructure:** The engineer inspects your current electrical connection, meter location, and earthing arrangements to plan the integration path. 4. **Physical Obstacles Assessment:** Mapping nearby chimneys, high parapet walls, or neighboring buildings that may obstruct morning or evening sun beams.
Phase 2: Mounting the Structure Once the engineering design is ready, the physical mounting begins. - **Anchor Fastening:** Installers fix mounting legs to the roof. For concrete roofs, chemical or mechanical anchor bolts are drilled into the slab and sealed with waterproof coatings to prevent roof leaks during heavy monsoon rains. - **Racking Assembly:** Rust-resistant Galvanized Iron (GI) or Aluminium rails are assembled onto the legs. These rails act as the support skeleton for the panels. - **Panel Mounting:** The solar panels are positioned onto the rails and secured tightly using mid-clamps and end-clamps. - **Tilt Angle Selection:** For most regions in India, panels are positioned at a tilt angle of 10° to 15° facing south, aligning with the local latitude to capture optimal solar radiation year-round.
Phase 3: Electrical Cabling & Inverter Connection With the panels securely in place, the electrical wiring phase starts: - **DC Cabling:** Panels are connected in series/parallel configurations using double-insulated, UV-resistant DC solar cables. These cables carry high-voltage DC power from the roof down to the inverter. - **Inverter Installation:** The inverter (the brain of the system) is mounted on a wall near the main distribution board, away from direct sunlight. It converts raw DC power from panels into usable AC power for your home appliances. - **Safety Equipment Integration:** Installers connect a DC Distribution Box (DCDB) and an AC Distribution Box (ACDB) containing Surge Protection Devices (SPDs) and circuit breakers to shield the system from voltage spikes and lightning.
Phase 4: Earthing & Lightning Protection Safety is paramount in solar installations. Installers dig 2 to 3 separate earthing pits filled with chemical compounds. One pit is connected to the panel mounting frames, another to the inverter's safety ground, and a third is dedicated to the **Lightning Arrestor**—a tall spike mounted at the highest point to divert lightning strikes safely into the ground. - **Static Grounding:** Attaching all copper rails together with flat earthing strips ensures no static charges accumulate on the frame over time.
Phase 5: DISCOM Inspection & Net Metering This is the final hurdle to commissioning your system. - Once the wiring is complete, your local electricity board (DISCOM) conducts an inspection to verify compliance with safety guidelines. - The DISCOM replaces your existing unidirectional meter with a **Bi-directional Net Meter**. This meter records both the energy you import from the grid and the excess solar energy you export. Once the net meter is synchronized, you can officially flip the switch and start saving! - **Commissioning Document Release:** The DISCOM issues a formal commissioning certificate marking the operational launch of your rooftop utility network.
Ready to save?
Get custom engineering layouts and subsidy estimates for your concrete or metal rooftop from verified local installers.